Introduction to Tinkerdinky and its mission
Welcome to the world of Tinkerdinky, where imagination takes flight and creativity knows no bounds! If you’ve ever wanted to dive into hands-on projects that spark joy, you’re in the right place. At Tinkerdinky, our mission is simple: empower makers of all ages to explore their creative potential through crafting.
Whether you’re a seasoned DIY enthusiast or just starting your journey, we believe everyone has something unique to offer. With a little guidance and inspiration, you can turn everyday materials into extraordinary creations. So grab your tools and let’s embark on this fun adventure together—your first project awaits!
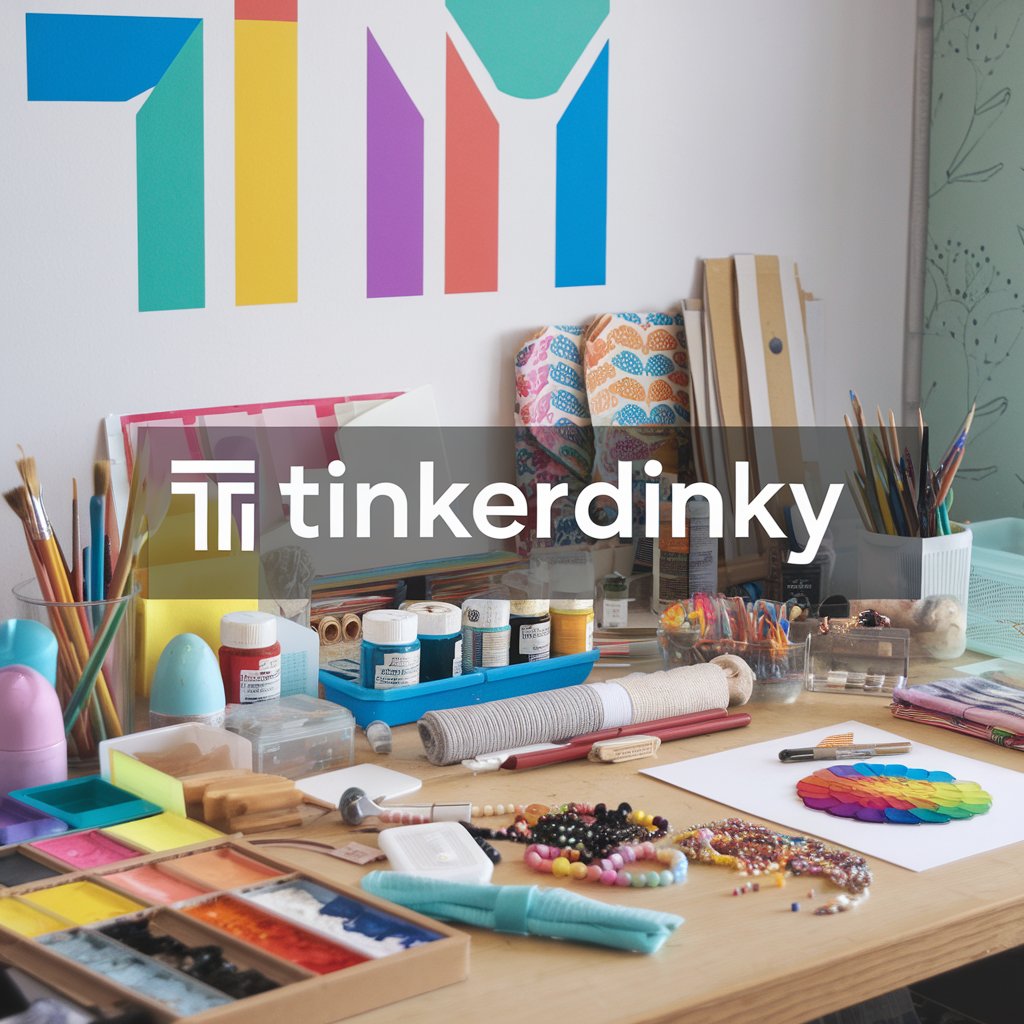
Overview of the tools and materials needed for your first project
To kick off your Tinkerdinky adventure, gather a few essential tools and materials. Start with the basics: scissors, a glue stick, and a ruler. These will become your trusty companions.
Next up is paper—various types work wonders. Consider construction paper for vibrant colors or cardstock for sturdiness. You might also want some decorative items like stickers or washi tape to add flair.
Don’t forget about markers or colored pencils! They bring life to your designs and allow you to express yourself fully.
If you’re feeling ambitious, grab some fabric scraps or string as well. These can elevate your project into something truly unique.
Keep a small box handy for all those bits and pieces that inspire creativity along the way. Each item you collect can spark new ideas in future projects!
Step-by-step guide on creating a simple DIY project
Start by choosing a simple project, like a personalized picture frame. Gather your materials: an old frame, paint, and decorative items like stickers or twine.
Clean the frame thoroughly to ensure the paint adheres well. Apply a base coat of your chosen color and let it dry completely.
Once dry, get creative! Use stickers to add designs or wrap twine around the edges for texture. This is where you can truly express yourself.
Consider adding small photos or artwork inside once everything is set. It’s all about making it reflect your personality.
Display your creation proudly in your home or gift it to someone special. Enjoy the process without overthinking; every imperfection adds character!
Tips for customizing and personalizing your project
Personalizing your project is where the magic happens. Start by selecting colors that resonate with you. A unique palette transforms any creation into a reflection of your personality.
Think about adding textures as well. Incorporate fabrics, papers, or even natural elements like twigs and leaves. This can add depth and interest to your piece.
Don’t shy away from embellishments either. Stickers, beads, or buttons can bring an extra pop to your design. Choose items that speak to you; they should enhance the overall aesthetic.
Consider incorporating meaningful symbols or quotes too. These personal touches give significance and make each project uniquely yours.
Experimentation is key! Mix different techniques, styles, and materials until you’re satisfied with the result. The possibilities are endless when it comes to customization—trust yourself and enjoy the process!
Troubleshooting common mistakes and challenges
Mistakes happen, especially when you’re diving into a new project. One common issue is miscalculating measurements. Always double-check your dimensions before cutting.
Another challenge can arise from using the wrong adhesive or fastener. Take time to read labels and choose products that suit your materials best.
If you encounter difficulties with paint or finish, consider environmental factors. Humidity and temperature can impact drying times and application results.
Don’t forget about tool mishaps! Ensure that blades are sharp and tools are properly calibrated for smooth operation.
If something doesn’t look right, step back for a moment. Sometimes taking a break helps clear your mind so you can find creative solutions easily. Remember, every problem has its fix; stay patient and keep experimenting.
Inspiration for future Tinkerdinky projects
Let your imagination roam free. The world of Tinkerdinky is vast and bursting with possibilities. Consider creating personalized gifts for friends or family. Handmade items always carry a special touch.
Think about seasonal decorations, too. Crafting unique ornaments can bring a cheerful vibe to any holiday celebration. Imagine custom wall art that reflects your personality and style.
Repurposing old materials is another exciting avenue to explore. Turn forgotten objects into something new and functional—it’s sustainable and creative.
Incorporate technology as well! Simple electronics can elevate your projects from ordinary to extraordinary, adding interactive elements that surprise everyone.
Don’t forget community collaborations. Partnering with others sparks fresh ideas and inspires creativity in ways you might not have imagined alone. Embrace the journey of discovery with each project you tackle next!
Conclusion and encouragement to continue tinkering with creativity
As you wrap up your first Tinkerdinky project, remember that crafting is a journey filled with endless possibilities. Each creation reflects your unique style and personality. Don’t hesitate to experiment with different materials or techniques.
Tinkering isn’t just about the finished product; it’s also about the joy of creating. Embrace any mistakes as part of the learning experience. They often lead to unexpected results that can inspire new ideas.
Keep pushing your boundaries and let your creativity flow. Dive into future projects with enthusiasm, and don’t shy away from trying something bold or unconventional. The world of Tinkerdinky awaits—each piece you create adds to a vibrant tapestry of imagination and innovation.
So gather your tools, ignite your passion, and keep tinkering! Your next masterpiece could be just around the corner.
Leave a Reply